

One of the biggest challenges encountered is trying to install the 8 foot Shademaker Supreme awning on my 13 Scamp with the egg contours of the front and aft sections.
You can go with a smaller awning and not have to deal with the issue as much, but the 8 foot is the perfect size and once it was installed we never had any issues with it. The outfit I bought mine from years ago is still operating and at the time they were the lowest because of free shipping Interwest Sports.
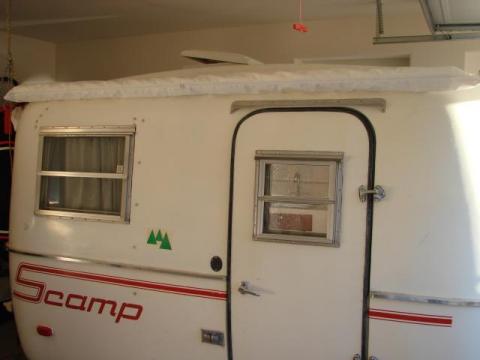
Following is how I installed it:
I purchased 9 feet of continuous awning rail from a local RV shop since I didn't like the two four foot sections that they sell for the awning. After pondering and dry-fitting for a few days I cut the rail to 6' 11" which will give you about 6.5" of overhang of the bag on each end. This is unavoidable with the curvature of the Scamp, but turned out not to be an issue.
The location of the rail is approximately 10.5" from the base of the ridgeline on the roof to the awning rail and 6" above the drip cap over the door to the awning rail. This may vary depending on your year of 13 Scamp but should get you pretty close. Make sure the Trailer is completely level and level the awning rail prior to marking guide holes.
To attach the rail to the Scamp I used Butyl Tape under the entire length of the awning rail, and used 9-1.25" 10-24 SS Machine Screws backed with SS fender washers and nuts in three locations.(Both the front and rear of the rail and center of the rail) These locations where I used bolts come through in the front and rear overhead storage bins and the closet by the door so the nuts and fender washers are not visible inside the trailer. These are for added strength for stresses of awning use. The remainder of the awning holes I riveted.
Cost of the project:
Awning Shademaker Supreme 8ft $290 free ship.
Awning rail $20
Butyl tape, SS Machine Screws, Nuts, Fender Washers and rivets: approx $20
Using Awning while camping: Priceless
Photos of the install:


This is a project that i need to do..... Living in Arizona i need all the shade we can get LOL
Thanks for the detailed install
Joe & Linda
New River, Arizona
2013 Casita SD 17'
I also followed Greg’s method of attaching the 8’ Shademaker awning. Because I’m also using the add-a-room with our awning, I wanted more support on the ends of the awning track. I added stainless brackets to support each end and to provide a vertical face for mounting the brackets. First, I made a cardboard template for each end. It took several tries to get the curve right, but I had lots of cardboard. Then I used a bandsaw to cut out each bracket from some 16 ga. stainless sheet and made my bends with a vise and a mallet. The brackets bolted in place on the roof and against the rail are very stiff.
Those awning installations are top notch. We opted for the factory awning on our new 2019 13 scamp and the roof gap is annoying but a pool noodle cures it for the most part.
2019 Scamp 13 standard