The blinking green LED indicates a fault. If speed was set to less than 50% it worked most of the time. Tech support mentioned it could be voltage issues, however the DC system voltage is well within the normal range. The fix was replacing the PCB (printed circuit board), and they sent it under warranty -- but without any instructions.
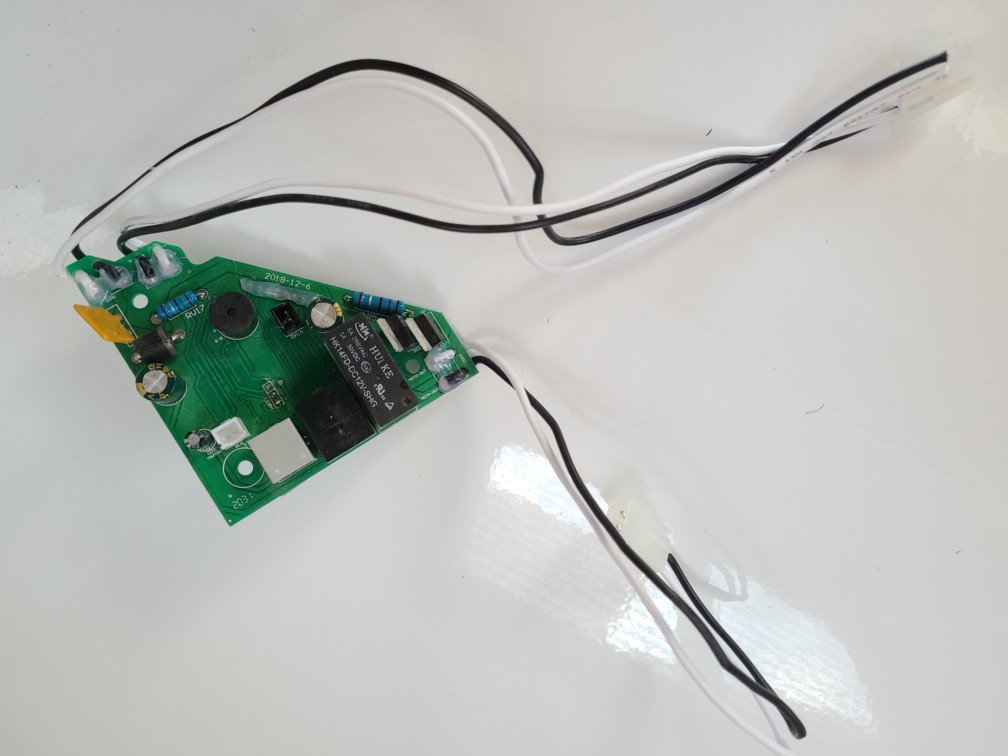
The PCB is located in the corner of the fan directly above the local push-buttons. Here's how to replace it:
- Turn off 12V power, both battery and converter.
- Remove the screw in the center of the black knob that rotates when the outside cover changes position, then remove the knob.
- Remove the screen by rotating the 4 plastic latches 180 degrees.
- Remove the outer bezel with 4 screws.
- Remove the inner cover with 4 screws, and let it hang gently from the wires.
- Disconnect all the electrical connectors, and cut both 12V power wires coming from the roof area. Cut the ty-wraps.
- The new PCB came with a new temperature sensor plugged into the PCB, but the original is hot-glued in place and can be re-used.
- Remove the PCB by taking out the 3 screws holding the PCB, but don't loose the plastic washers. There is a ribbon connector on the bottom side to the local push buttons, carefully remove that connector.
- Install the new PCB, starting with the ribbon connector on the bottom, then the 4 screws and plastic washers.
- Ty-wrap the wires, connect all the connectors, and crimp new connections for the 12V power leads. Test fit the inner cover and insure the wires don't interfere with anything.
- Replace all the remaining items in the reverse order they were removed.
- Turn on 12V power, and test using both the remote control and the local buttons.
The procedure may vary depending on the exact model of fan, ours is what Scamp installed in our 2021 13' footer. Here's a pic of the PCB:


New Comments