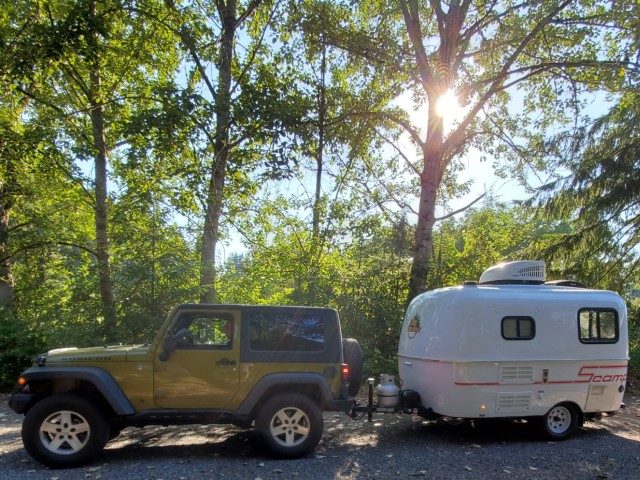
I came up with this method because we are going fall camping in a few days, and it may get below freezing, especially while driving. A side benefit of removing most of the water, including from the water heater, is about 50 lbs less trailer weight.
We always have a small (oil-free) ViAir 12V compressor in the Jeep for airing up tires, so using compressed air to de-water the system away from home is a natural choice, plus it minimizes the RV antifreeze use. The water heater doesn't de-water by just applying air at the city-water hose inlet because cold water enters at the bottom and hot water exits the top -- so air simply bubbles up the cold inlet to the hot outlet leaving most of the water in the tank. Removing the anode-drain is the normal solution, but it's prone to small leaks and needs to be quite tight with a plenty of teflon-tape. So I started thinking about how to use compressed air flowing in reverse, entering at the top of the water heater to blow water out the bottom.
Unfortunately, this method requires a second faucet on the Scamp, preferably an outdoor shower because it is lower. Here's how:
This is the adapter that will apply compressed air to the faucet for the sink. The blue air-chuck to hose fitting is the same used to connect compressed air to the city-water inlet on the side of the Scamp, it's a common fitting. The black tubing has a 1" ID and fits over the faucet's aerator, and the brass hose fitting in the middle has a 3/4" hose barb for tubing. There's also a short length of 3/4" ID 1" OD tubing inside the black tubing to adapt the 1" ID tubing to the 3/4" hose barb. No hose clamps were necessary, the fit was tight enough for the low pressure used.

First step is to air out the cold water lines the conventional way with the adapter fitting at the city-water inlet hose fitting on the side of the Scamp.

The second step is opening the hot water valve (only) at the sink faucet, and opening the cold water faucet (only) for the outdoor shower. At this point it is set up for compressed air to enter the faucet at the sink, and through the hot faucet valve to the top of the water heater. Water will exit the bottom of the water heater to the cold water line, and then through the outdoor shower's cold faucet valve. An air-tight seal isn't necessary, only about 15 psi is going to build, and the aerator will vent some air at the top.

Water sprayed from the outdoor shower via the open cold valve until the hot water tank emptied, then air came out. It took about 9 minutes.

With the hot water tank now empty, the first step was repeated with the air fitting back at the city-water inlet. Opening every valve, one at a time, blows the rest of the water out of the lines.
Hopefully this method might be useful to someone else. It's not a substitute for periodically draining the hot water tank and replacing the anode, but I think it's going to be handy to de-water quickly.

Shortly after posting the above, I noticed hot and cold drain valves on the underside, below the fridge. For reference, this is a 2021, 13' Scamp.
Right now I'm thinking these are the built-in solution, along with opening faucets to vent in air. The cold tubing to the water heater makes an upward turn, so it's going to take siphon action -- Begin with the air bled out of system, open hot faucet, then open cold drain valve. Following up with compressed air at the city-water inlet and opening each faucet/valve should help clear out most of the remaining water. Will test during our trip...
Can hardly believe I missed these drain valves!
Siphoning out the water heater (hot faucet valve open first, then opening the cold drain valve) definitely works. With the faucet aerator removed (for less restriction) it takes about 20 minutes due to the low head pressure. Applying some air pressure to the faucet using the adapter tool I made (shown in the first post) speeds it up. Bottom line is that traveling (and storing) with the water heater empty is fairly easy with either method.
On a side note, we're back from camping now and it's time to winterize for a while -- hopefully a short while since we often have above freezing weather in fall & winter! With the water heater previously drained it was just a matter of blowing out all the faucets, valves, and bidet with compressed air at the city water inlet. Anti-freeze was added to the drains and fresh water tank, then the shower drain and the fresh water pumps were run enough to fill them plus a few feet of tubing. The fresh water tank drain is in the front and the pump suction is toward the rear of the tank, so I minimized the anti-freeze in the fresh water tank by tilting the trailer nose-down to drain it, and nose-up to run the pump -- 3/4 gallon used in total.